|
Build Photos |
|
|
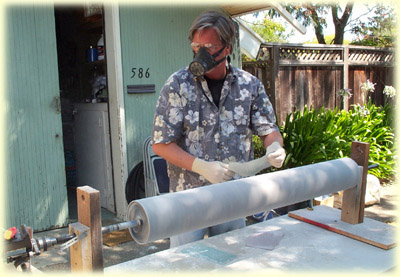
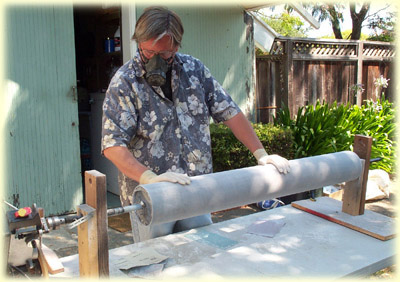 Sanding the airframe man that is smooth :)
|
|
|
|
|
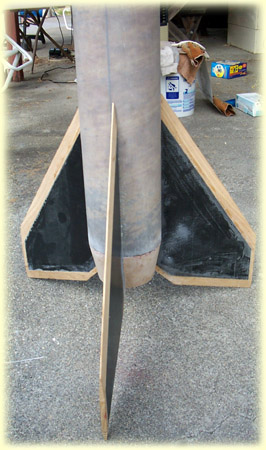
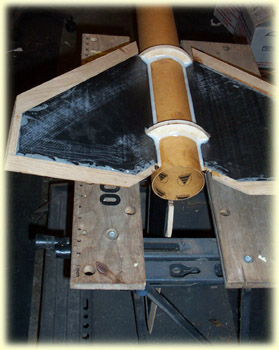  Nice strong fiber reinforced fillets. Here the motor tube is glued into the airframe. Since the slots went all the The fins are also glassed to the motor way through the end of the airframe, I used metal rods clamped around tube but I forgot to photograph it. the tube to get a good and tight glue/fit around the centering rings and fins
|
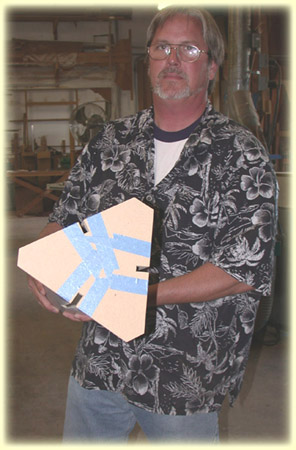
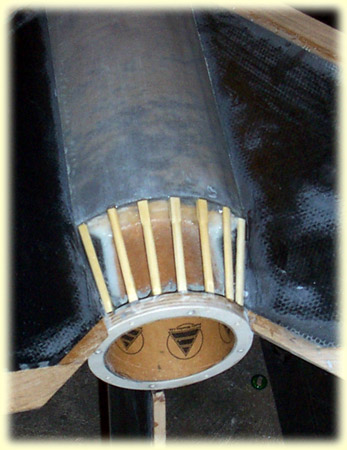  I used chop sticks for support of the tail cone shroud which is 1/64th" plywood, then applied epoxy and taped the plywood cover in place.
|
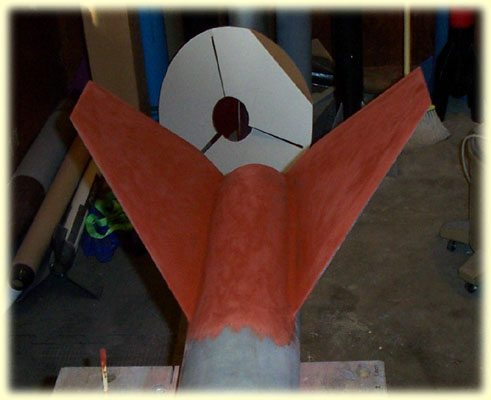
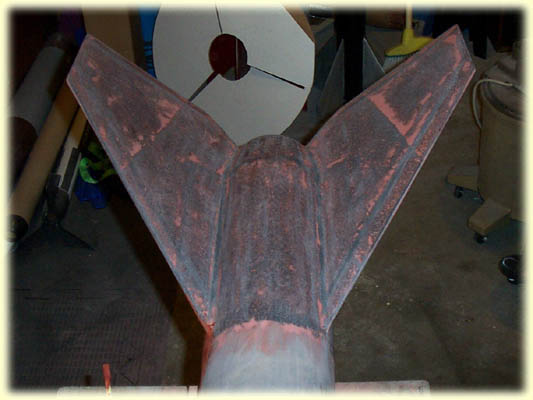
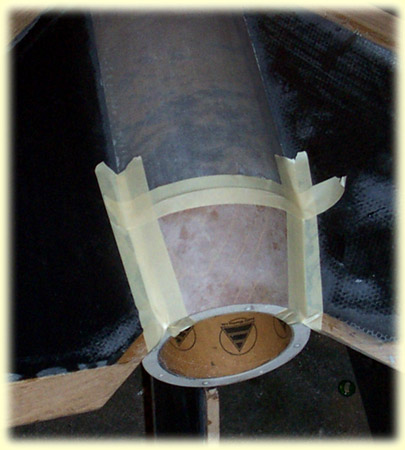
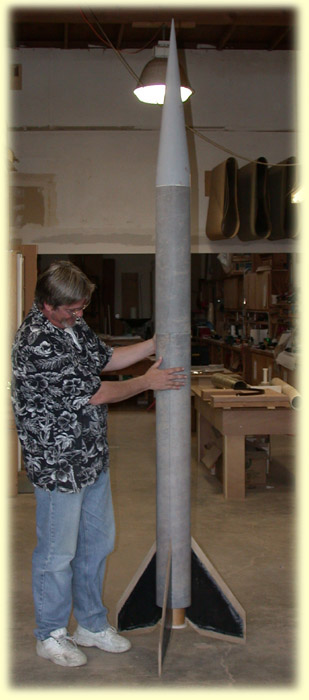
 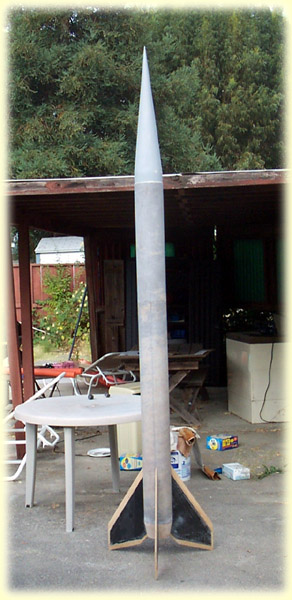 Here is the completed tail cone, other than a little filling to be done. Now it is really starting to look like a Black Brant II
|

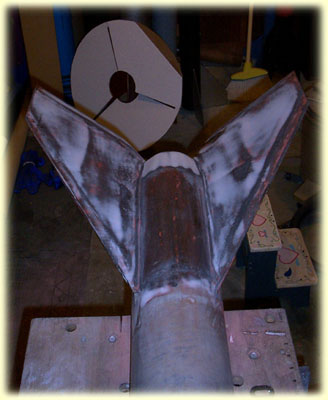
| It
was now time to strengthen the fin can. After talking it over with several
people I decided to do a 3 layer carbon fiber lay-up.
Each layer would cover more area until the final layer reached from tip to tip, then vacuum bag the whole shebang. Here are the vacuum bagging photos |
| After I finished the bagging then the fun of sanding and filling has begun.......weeeeeeeee my favorite part!!!
|
Next is the final filler coat of West Systems and micro
balloons.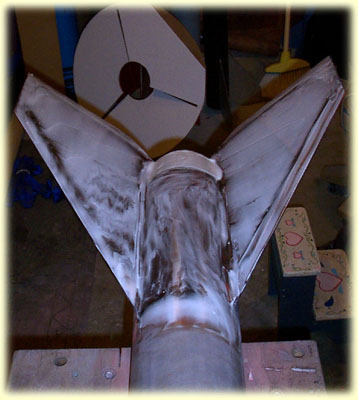
Now it is time for painting................... |